

I love the variety and versatility that rugs can bring to your decor. They make it so easy to add texture and pops of color. But rugs can be pricey and as a momma to four boys and two pups, rugs are the last thing I want to spend a lot of money on. That being said, I love the look of some of those pricey floor coverings. I love the added fringe, tassels, trim, and braided ends. So, I decided to to give my inexpensive rugs a little makeover with a go at adding some fringe of my own. So, off to Hobby Lobby I went, where I picked up this fringe. I bought 8 yards of it because I had two 5×7 rugs I wanted to add it too. I used my 40% off coupon and and spent a little over $14 for the trim. I bought two indoor outdoor rugs at the end of season from Amazon for around $30 each. They weren’t exactly what I was looking for, they just felt like they were missing something…cue the trim.

My first plan was to sew the trim on with an upholstery needle and thread and then my Aunt mentioned using hot glue to secure the trim to the rug. I wasn’t sure that would hold up well though. But… hot glue would be such an easier route to go and would save my fingers countless boo boos from that upholstery needle, lol. So, hot glue won the battle and it’s been holding strong for a little longer than a month now.
I started off the process by taping the end of the trim so it didn’t unravel before gluing it to the first end of the rug. I glued my trim to the back of my rug. You could glue it to the top if you like that look better. I just thought it would be more secure on the bottom. Second thing I did was placed a piece of wax paper under the rug and my floors to protect from any glue seepage. You could use cardboard, tinfoil, or whatever else you have for this step. Then I started glueing a thin layer of glue on about 6 inches of the trim and lined it up and pressed it to the back side of the rug. Then I did the same thing for the next 6 inches of trim. I repeated this step until I got to the other end of the rug then cut and taped the last bit to secure to the very end of the rug. Be sure to move your wax paper as you go to protect the flooring or surface under your rug.

This was a really quick and easy upgrade that helped me achieve the look I was going for a lot less money. You can add any kind of trim you like, tassels, braids, whatever. There are so many options. Here is a little before and after shot for you.
BEFORE:

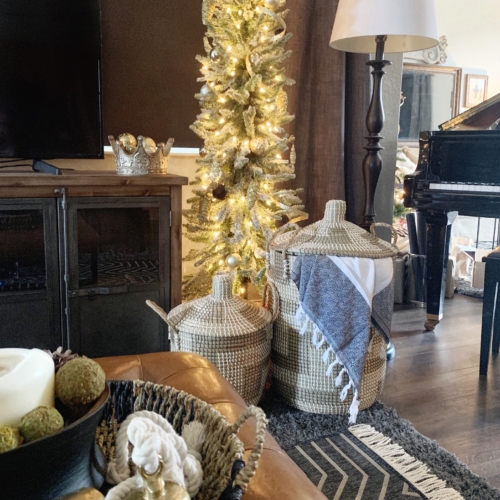
AFTER:


Tammy
Very nice. I would never think of this. I have added this type of trim to lampshades. I’ll try it with a rug now.
countingblessings7@gmail.com
Thanks, Tammy! Add trim to all the things, lol! Its a quick and easy way to switch up so many things.
Lauren
Amazing!! Seriously such a big difference, thanks for sharing the inspiration!
countingblessings7@gmail.com
Thank you for your sweet words, Lauren! Thanks so much for stopping by.