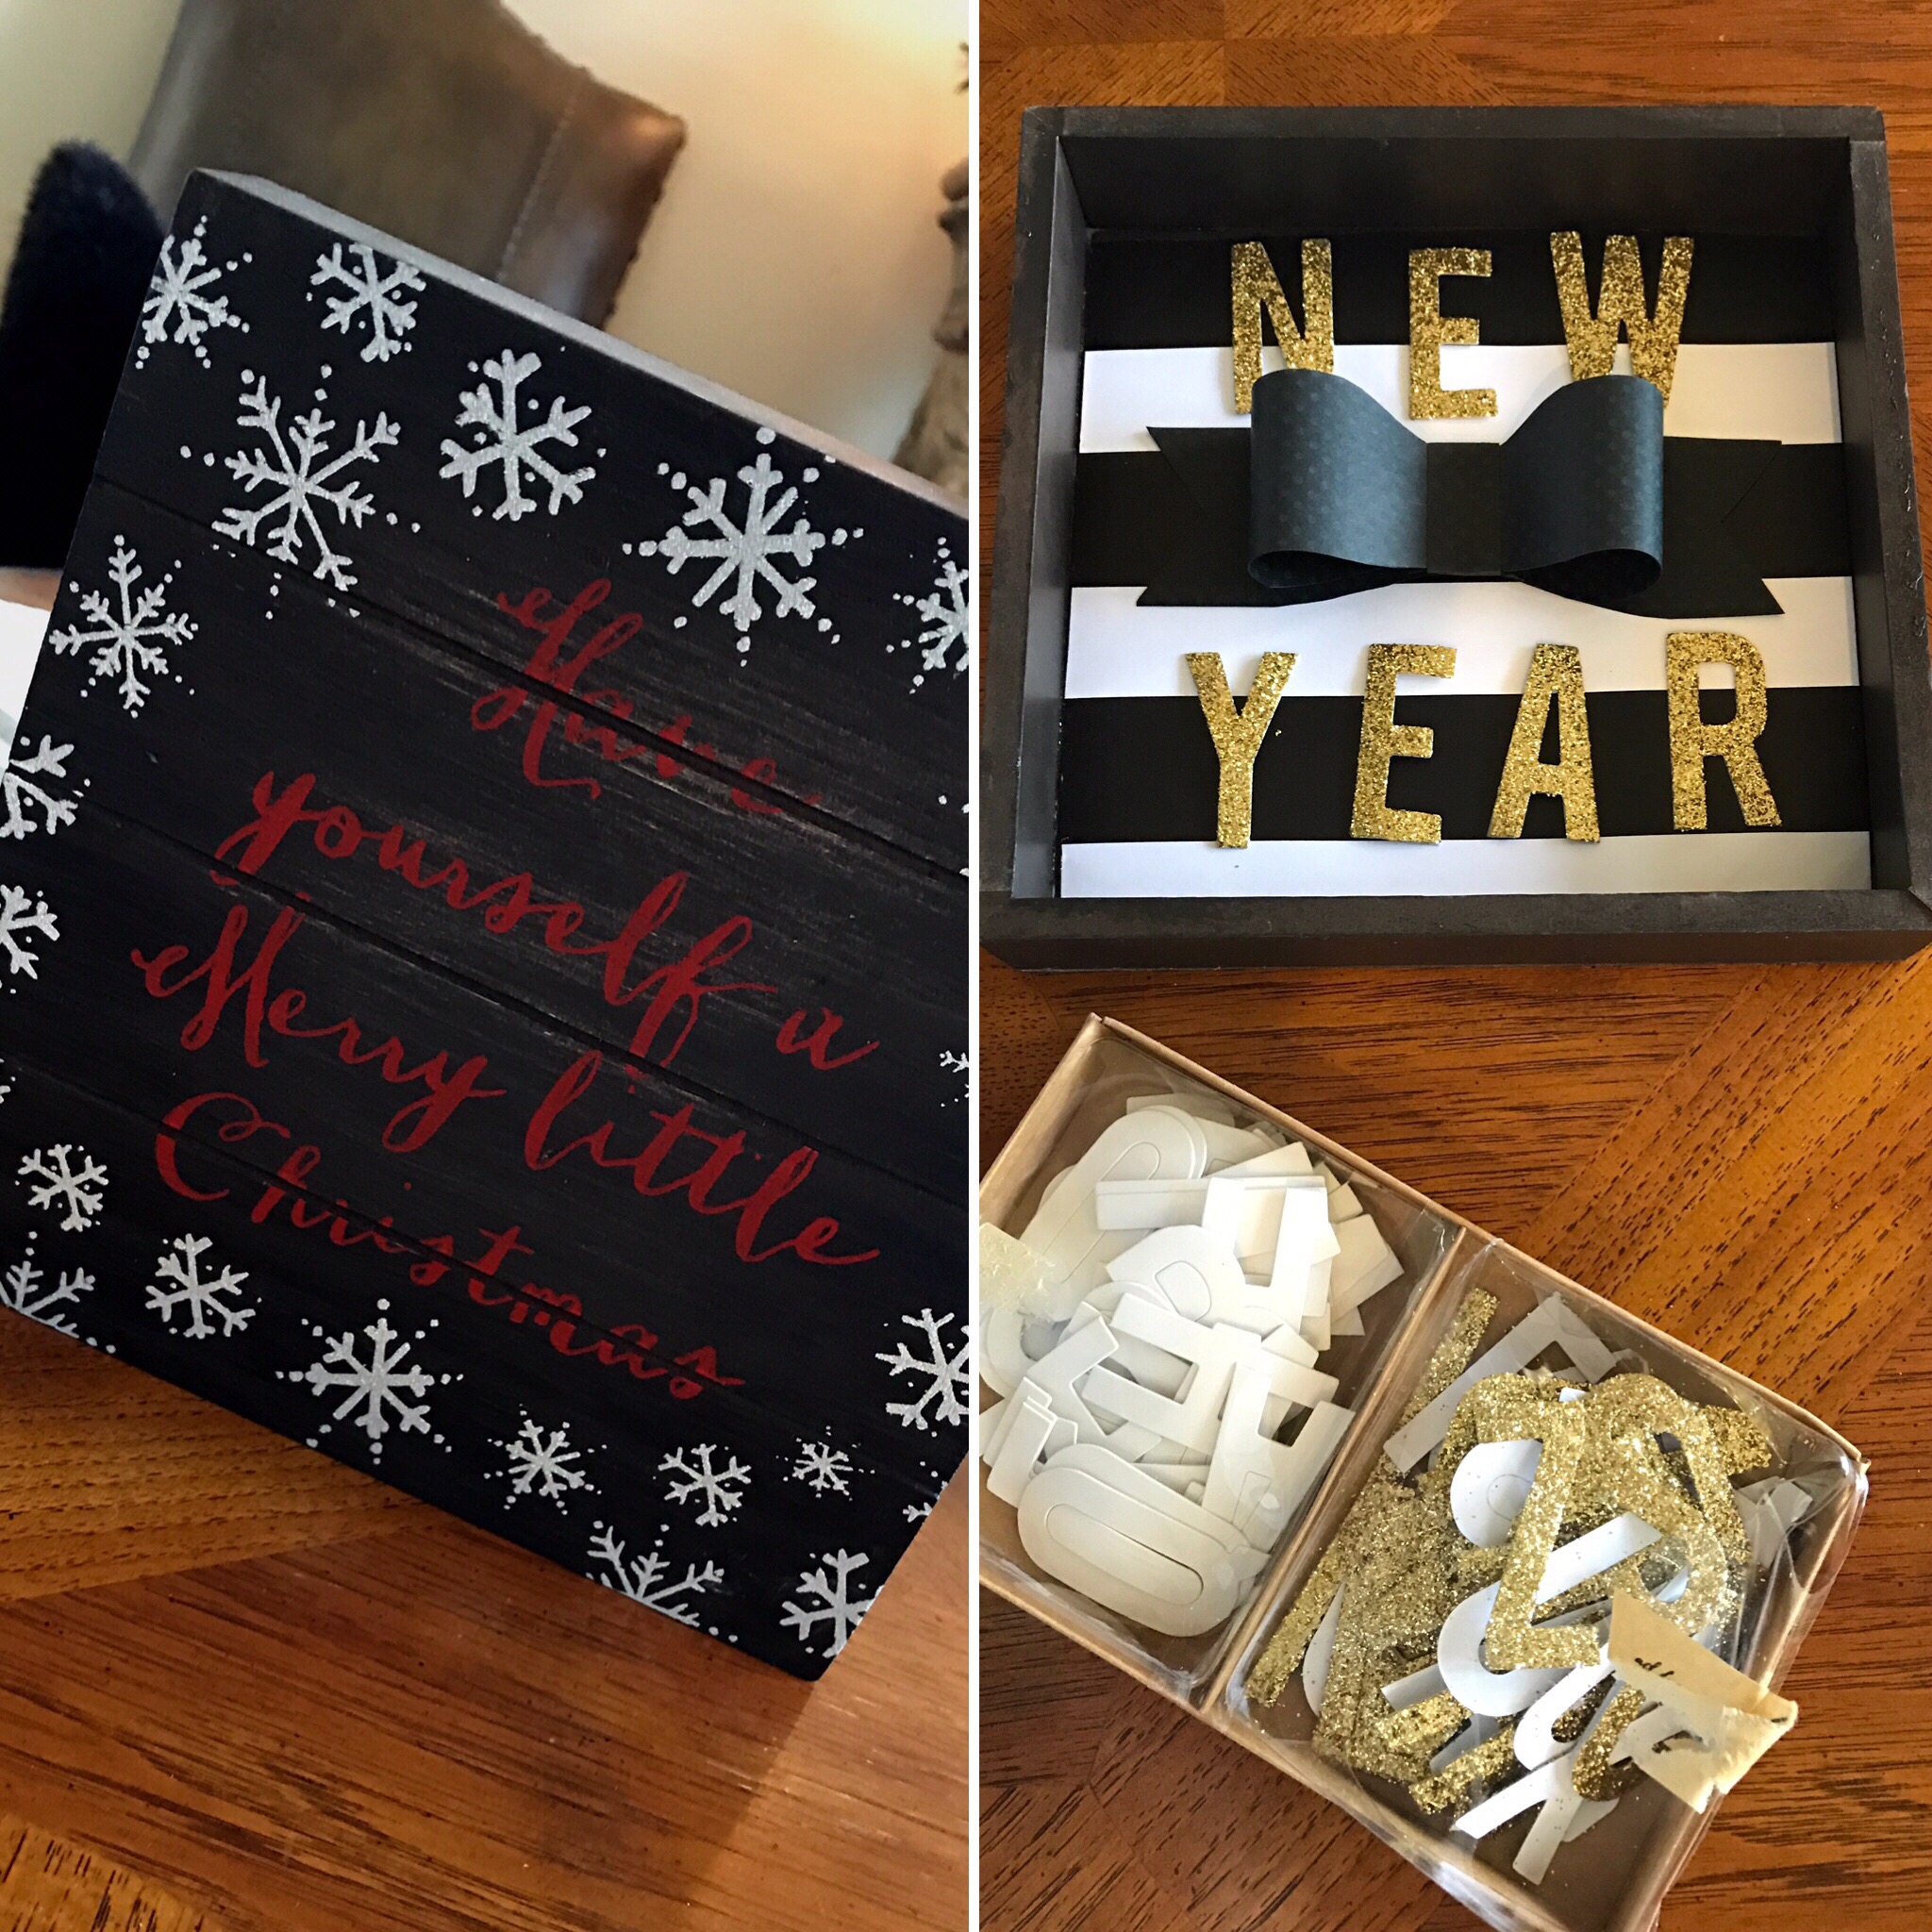
 I have been on the lookout for a similar one for New Year’s but I never really found what I was looking for. So I decided to make may own, using the other side of this sign.
 Here’s what the other side looks like. You could paint your sign if you want but I chose to use paper to make my new sign, that way I can switch it out with whatever occasion I choose. The first thing I did was cut a piece of decorative paper to fit my sign and I taped it down to the sign. You could Modge Podge it if you want to make something more permanent.

Sorry, I didn’t get a picture of just the paper alone. I already had affixed my bowtie to my paper. Put that into the frame and tape that bad boy down. Then I added my cardboard letters. I buy these almost every time I visit Michael’s or Hobby Lobby when I catch them on sale. They are so great for making banners and signs and I love them!!!

Really quick and easy project. If you want to switch your sign out for another holiday or occasion just carefully remove it from the backing. I’m going to store mine in a file folder in my filing cabinet with my other printables so I can use it again next year. Hope you all enjoy making your signs. Thanks for stopping by!


